Strategy
Informative
A Simple Guide To Using Remote Audiences
May 23, 2018
Informative
May 23, 2018
As you may know, Facebook offers a range of audience options including Open Audiences, Web Custom Audiences, Lookalike Audiences etc. However, in this case we’re going to focus on The Next Ad’s very own, exclusive, Remote Audiences option. With GDPR becoming enforceable in only a couple of days, there’s no better and safer way to make use of custom audiences and data on our platform.
Let’s refresh your memory!
What sets Remote Audiences apart from the other options, is that it’s either directly or indirectly connected to your own Customer Relationship Management (CRM) database. After setting up the necessary criteria, The Next Ad will be able to retrieve the right people from your CRM database and help transform it into a Dynamic Custom Audience. This ensures that your custom audiences will always remain up to date, resulting in an increase of relevancy. This will, in turn, lead to an increased number of conversion, producing an overall improvement in your social media campaign results.
So, you want to create a campaign directed at a remote audience. Let’s go through the steps you’ll have to take in order to achieve this.
Firstly, open The Next Ad’s platform and look to the left side of the page. Click on the ‘Audiences’ icon, which can be found between the ‘Campaigns’ and ‘Reports’ icons.
Once you have clicked on it, three choices will appear in front of you. Continue by pressing on the ‘Source Audiences’ option.
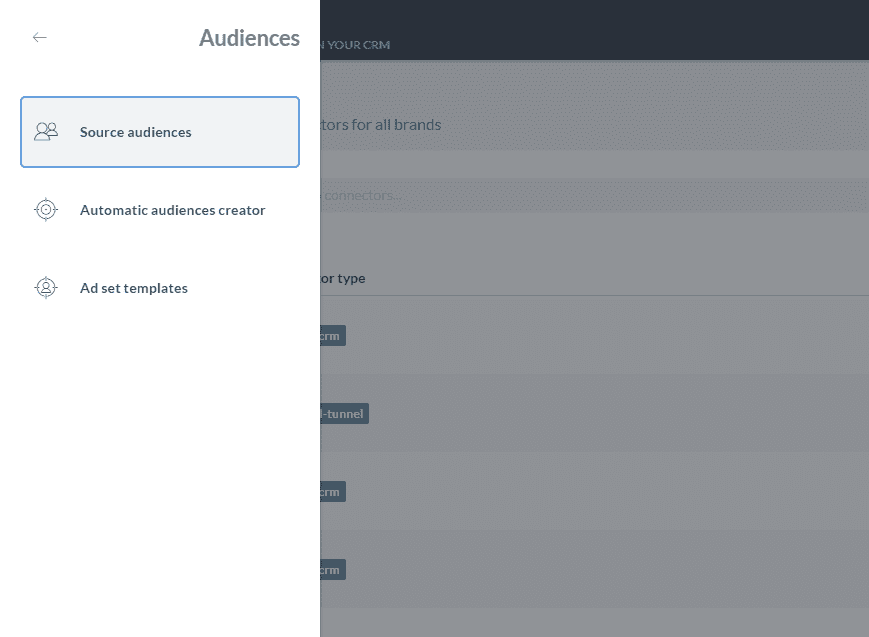
Proceed by clicking on the ‘Create new audience’ button, which will appear on the top right of your screen, turning into a drop down list once you have pressed on it.
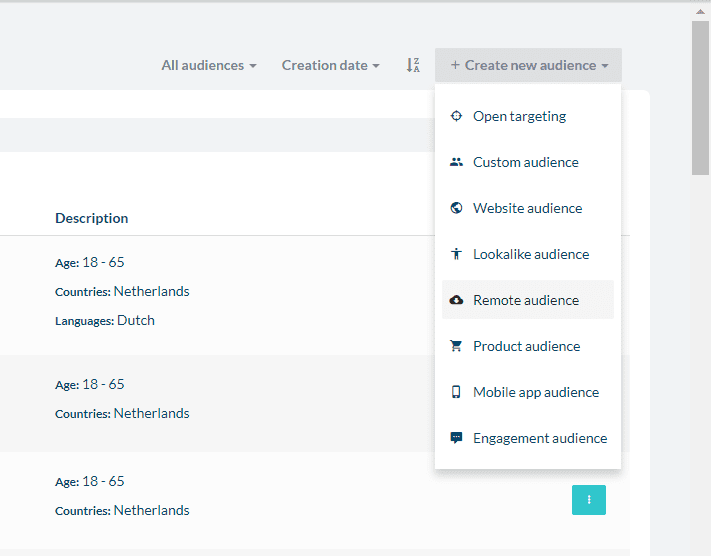
There you will be able to choose which kind of audience you want to use for your campaign. In this case, select ‘Remote Audience’.
After selecting the ‘Remote Audience’ option, a window will pop up on your screen asking you further fill in some information in order to register and save the audience.
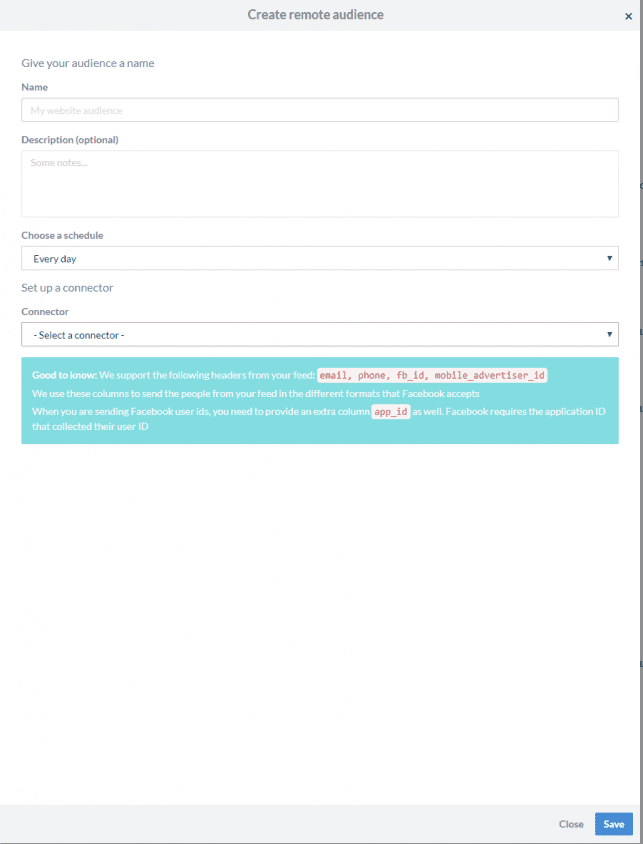
For schedule, you’ll be given five choices. These options indicate how frequently your CRM database will be updated with the custom audience, in order to keep it up to date. It can be set for every day, every other day, every week, every other week or every 30 days.
Finally, you’ll see the ‘Connector’ option. This is where you select your already uploaded CRM database, in order to connect it with The Next Ad’s platform.
If you haven’t yet uploaded your database, you can do so by clicking on the ‘Control Panel’ icon, which can be found on the bottom of the list of icons on the left hand side of your page.
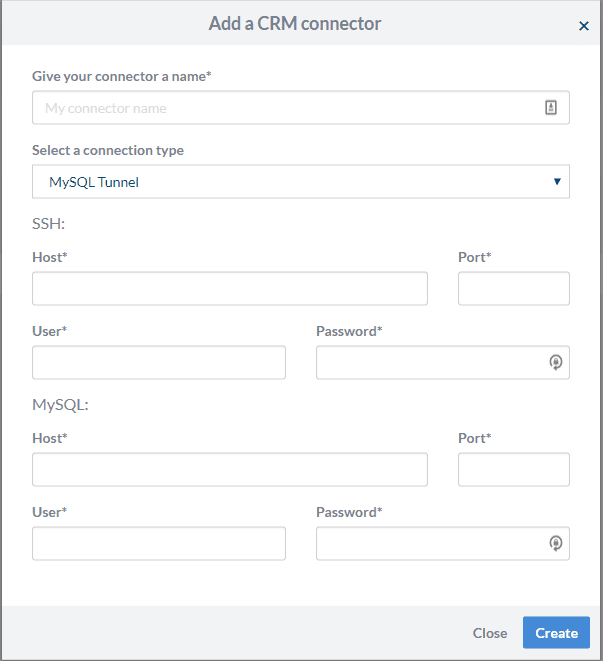
There you will find the ‘Connectors’ option. Pressing that button will lead you to the ‘Your CRM Connectors’ page, where you will find the ‘Add New Connector’ button on the top right of your screen.
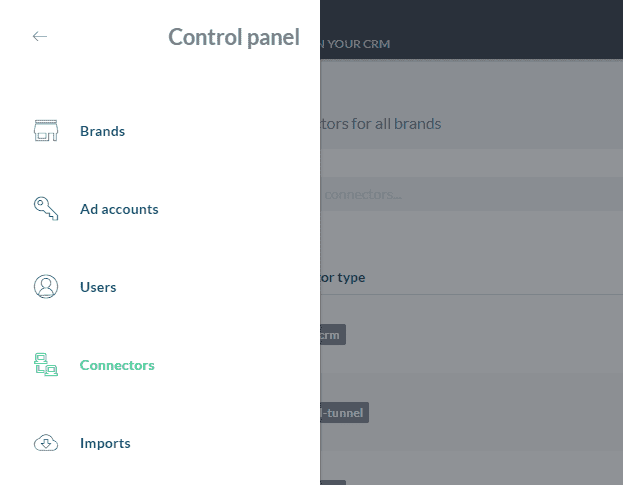
From there on, upon filling in the required information, you will be able to continue uploading your CRM database to The Next Ad’s server.
And there you go!
You’ve successfully set up your remote audience, and can now increase your targeting relevancy, by targeting the right people, at the right time, with the aim of improving your conversion rate. It really isn’t that hard!
If you’d like to learn more about using the right audience targeting options for your campaigns, be sure to check out our Audience Targeting white paper!